Read the water history before covering the walls
A dry-looking visit is only one moment. The useful record includes where water appeared, whether it followed heavy rain or a sewer event, what was repaired, how the exterior drains, and whether sump, backwater, foundation, or window-well work has already been done. Stains, odours, efflorescence, lifted flooring, and fresh patches are clues to investigate rather than details to decorate over.
The renovation scope should state what was visible, what the homeowner reported, and what remains unknown. If drainage, foundation, or sewer work needs a specialist, that decision comes before insulation and finishes so the new work does not conceal an unresolved path for water.
Protect headroom and future service access
The lowest obstruction often matters more than the nominal foundation height. Measure beams, ducts, drains, bulkheads, plumbing lines, window openings, and the stair landing. Then decide deliberately which routes can move, which must stay, and where a bulkhead is acceptable instead of allowing the ceiling to become a collection of last-minute boxes.
Electrical panels, water shutoffs, cleanouts, dampers, filters, pumps, and mechanical equipment need working clearance after the room is finished. Access panels and removable elements should be located on the drawing and included in the finish discussion, not cut into a completed ceiling after handover.
Freeze rough-ins against the furniture plan
A bar, shower, laundry, media wall, gym, office, or guest room places outlets, drains, vents, lighting, and heating in different locations. Lay out the equipment, cabinetry, screens, beds, and storage first, then coordinate plumbing, electrical, HVAC, and low-voltage work to that plan before framing closes the choices down.
This is also when the permit path, sleeping-room egress, smoke and carbon-monoxide protection, fire separation, and any separate-unit intention must be made explicit. A recreation room and an accessory apartment are not interchangeable descriptions of the same construction scope.
Build comfort from the assemblies outward
Warm-looking finishes cannot correct a cold slab, discontinuous insulation, uncontrolled air leakage, or rooms that receive no useful supply and return air. The wall and floor approach should fit the observed moisture conditions and the planned use, with material transitions and perimeter details resolved before finish selections are finalized.
Sound control works the same way. Ceiling isolation, insulation, resilient details, door selection, plumbing-wall locations, and equipment noise have to be considered while assemblies are open. A theatre, gym, bedroom, and mechanical room each ask for a different balance.
Walk the quote through the basement
During scope review, point to each demolition area, new partition, door, ceiling zone, floor assembly, fixture, outlet group, light, vent, access panel, cabinet, and finish transition. Record whether it is included, an allowance, owner-supplied, excluded, or waiting on a specific check.
That room-by-room walk-through makes competing quotes easier to compare and gives future changes a baseline. The number is then tied to a defined basement rather than to square footage that says nothing about water, services, code triggers, or the way the space will actually be used.
Treat the stair as a room, not a leftover
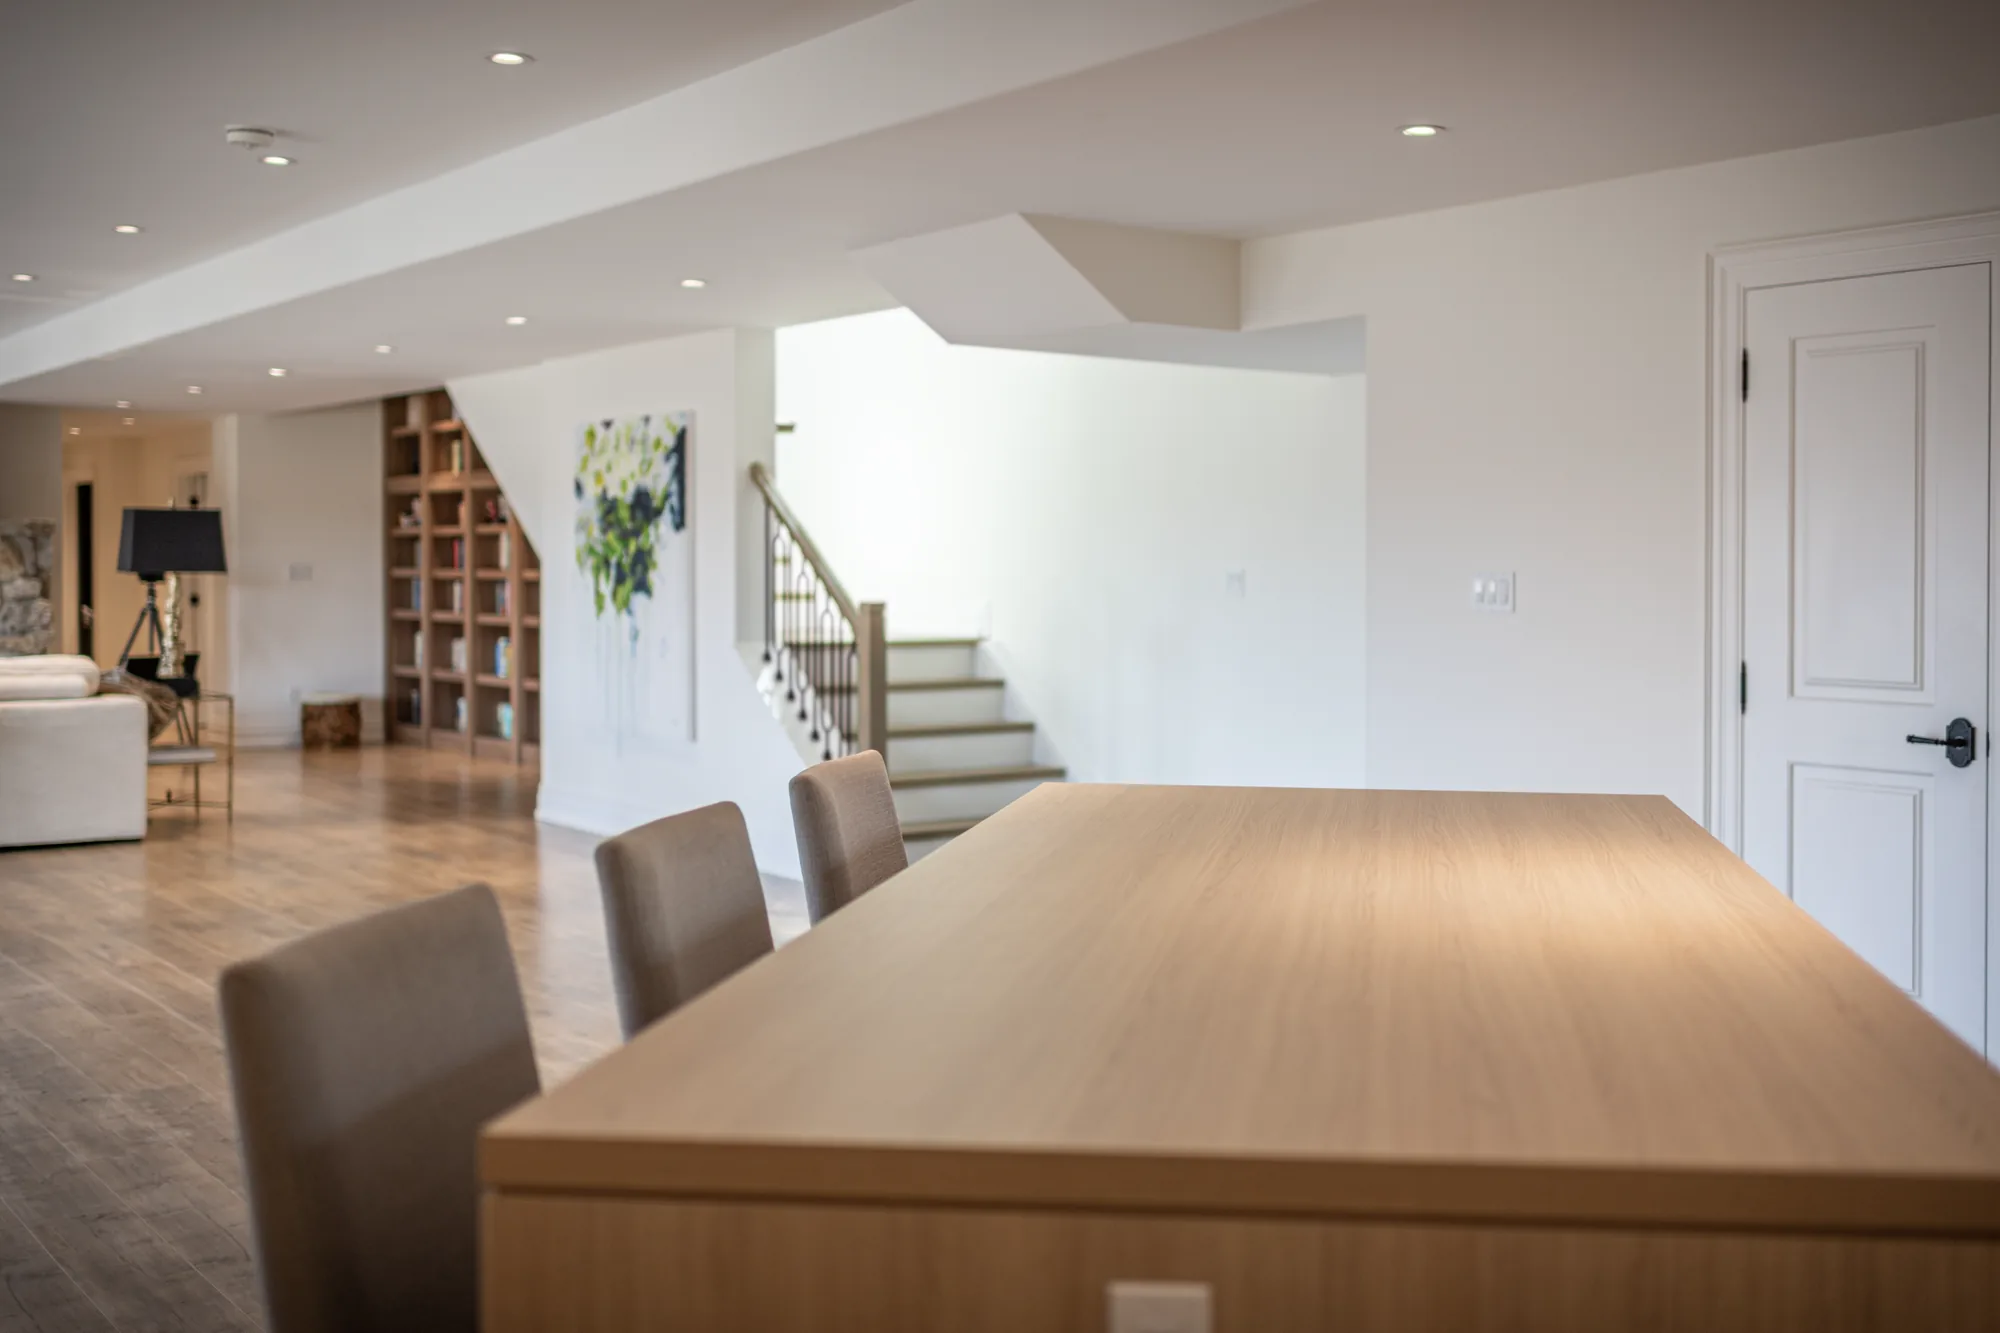
The stair controls how the renovated level feels before anyone reaches the bottom. Check width, head clearance, landing space, handrails, guards, door conflicts, lighting, and the path used to move furniture. If the stair remains dark or pinched, an otherwise open lower level can still feel cut off from the house above.
Changes near the opening may touch structure, finishes on both floors, smoke movement, or the location of existing services. Even when the stair itself stays, the plan should show how flooring meets it, where trim ends, what the first view will be, and how the route remains safe during construction.
Use daylight and egress as layout inputs
Map every existing window before assigning rooms. Note sill height, window-well depth, exterior drainage, opening size, and what sits outside. Daylight is more useful when circulation and occupied zones can borrow it; placing tall storage or a rarely used enclosure directly in front of the best opening wastes a limited resource.
If sleeping space is proposed, the escape route and the exact opening requirements need confirmation before the room is described or priced as a bedroom. Enlarging an opening can affect the foundation, exterior grading, window well, drainage, and interior finish sequence, so it belongs near the start of planning rather than in the final decorating list.
Design storage around access and real objects
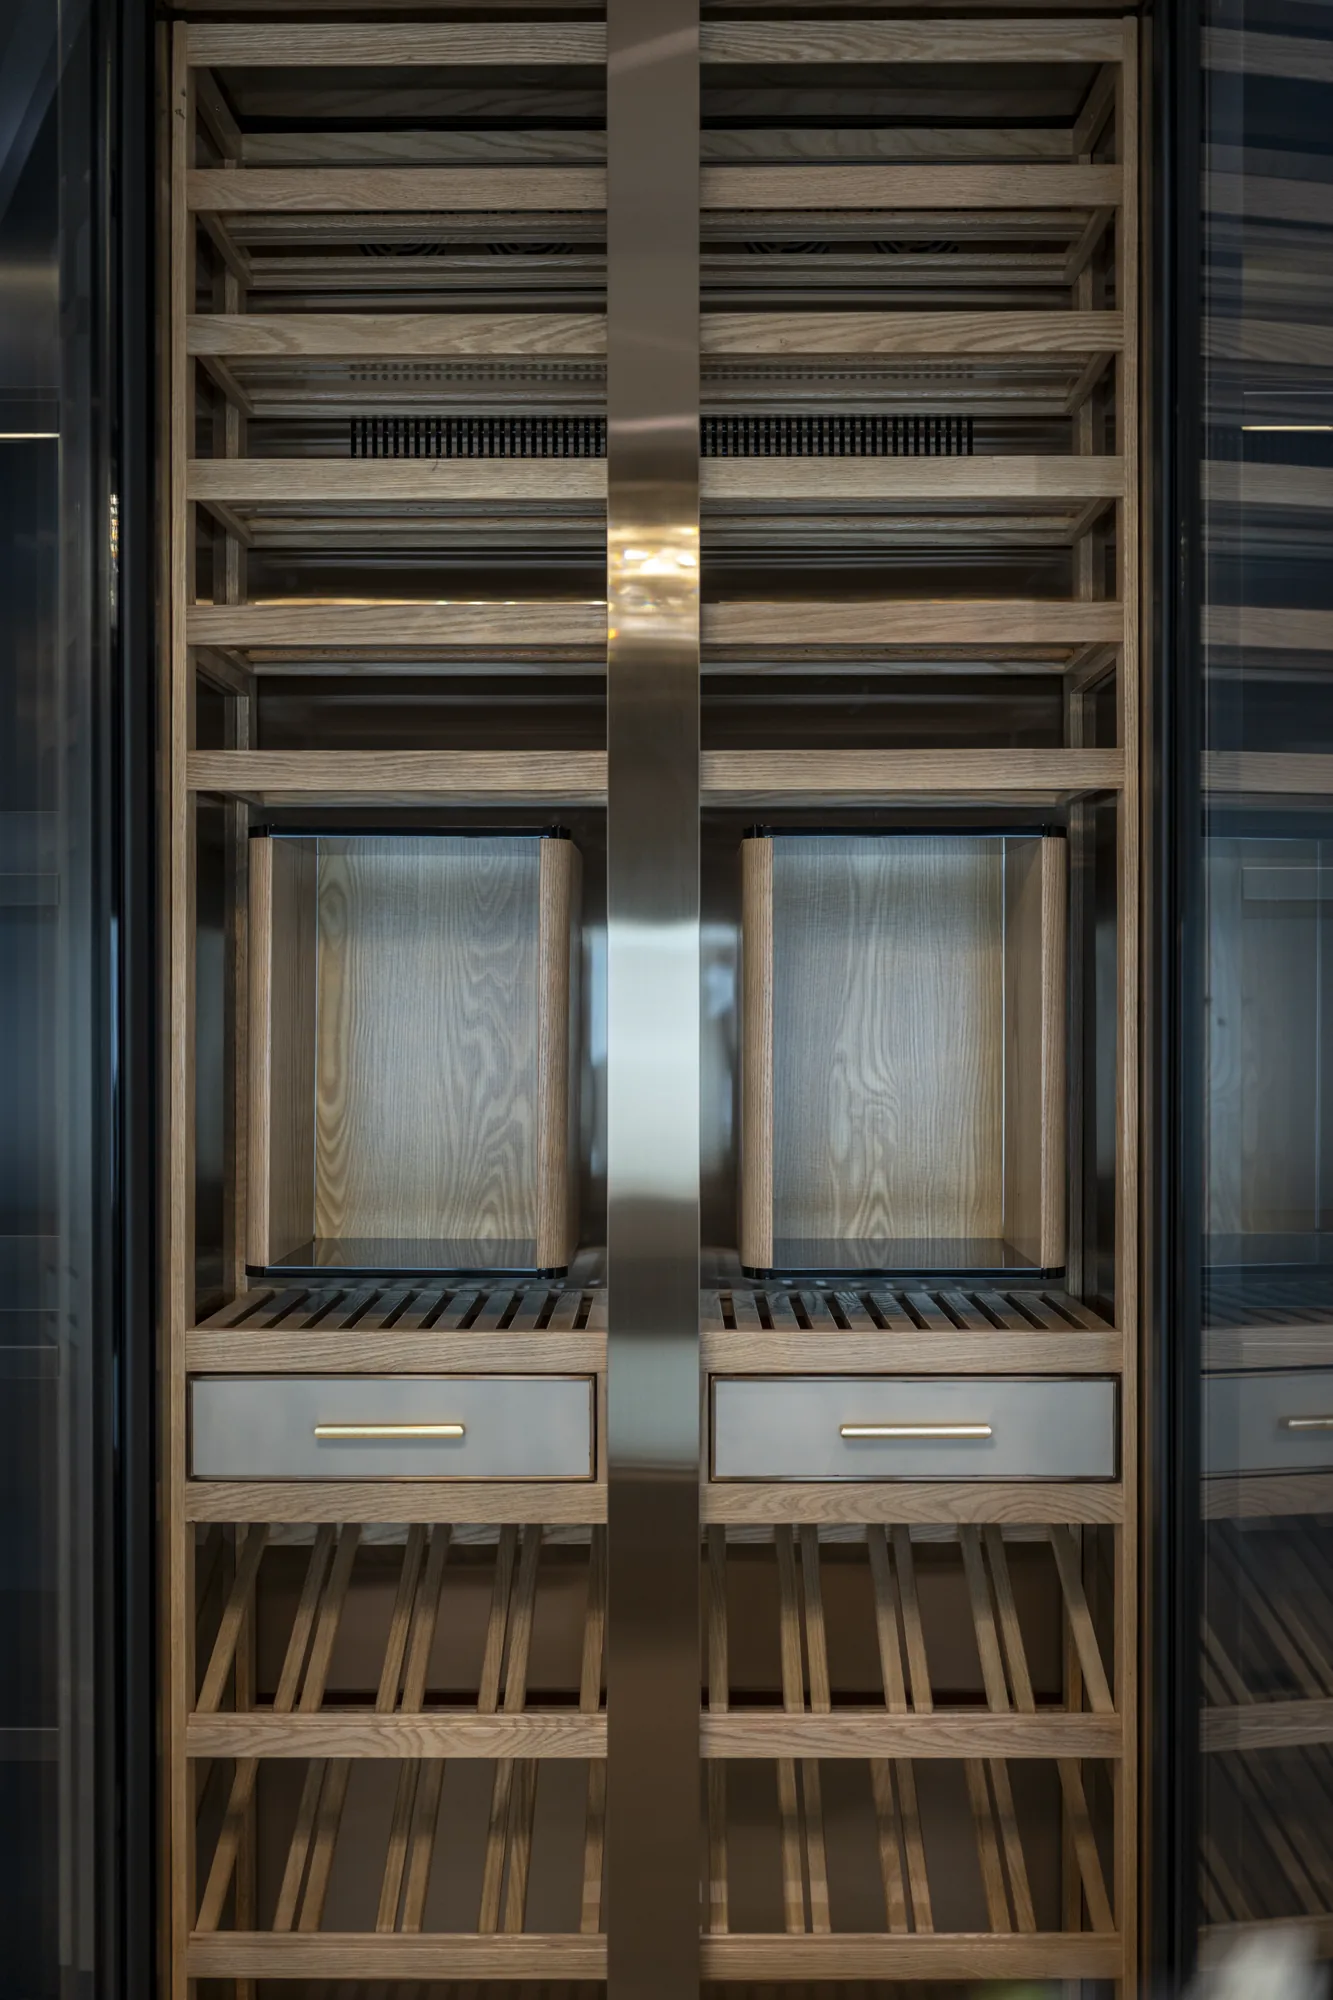
List what the basement must hold: seasonal bins, sports equipment, tools, luggage, household supplies, media equipment, toys, or wine. Measure the awkward items and place frequently used storage on the daily route. A long wall of shallow cabinets may be more useful than a deep room that becomes difficult to reach.
Under-stair and perimeter millwork can recover unusual spaces, but cabinetry must not block panels, valves, cleanouts, pumps, filters, or future service removal. The drawing should distinguish enclosed storage, display, open shelving, equipment clearance, and removable access so the finished result stays practical after the photographs are taken.
Choose materials for below-grade conditions
Flooring, wall finishes, cabinetry, and trim should be selected after the moisture and floor assembly strategy is known. Material thickness changes door clearances, stair transitions, base details, and finished ceiling height. A sample that looks right upstairs still needs to suit temperature, humidity, cleaning, and the way the lower level will be used.
Record transitions at stairs, washrooms, mechanical spaces, exterior doors, columns, and built-ins. Also record which products are owner-supplied and when they must arrive. This avoids designing around an assumed thickness or finish, then discovering during installation that adjacent surfaces, doors, or millwork no longer align.
Close the project with access and performance checks
Handover should test more than paint touch-ups. Open every service panel and access door, operate shutoffs that are meant for homeowner use, check doors and drawers against nearby walls, review lighting controls, confirm vents are unobstructed, and identify the documents, product information, and inspection records that belong with the house.
The final walk-through is also the moment to explain what remains observable over time: unusual moisture, pump operation, caulking, filter access, and any owner maintenance associated with the installed products. A clear deficiency list, responsibility, and completion record prevents small unfinished items from becoming an undefined second scope.